How to Plan a Road Trip on Google Maps
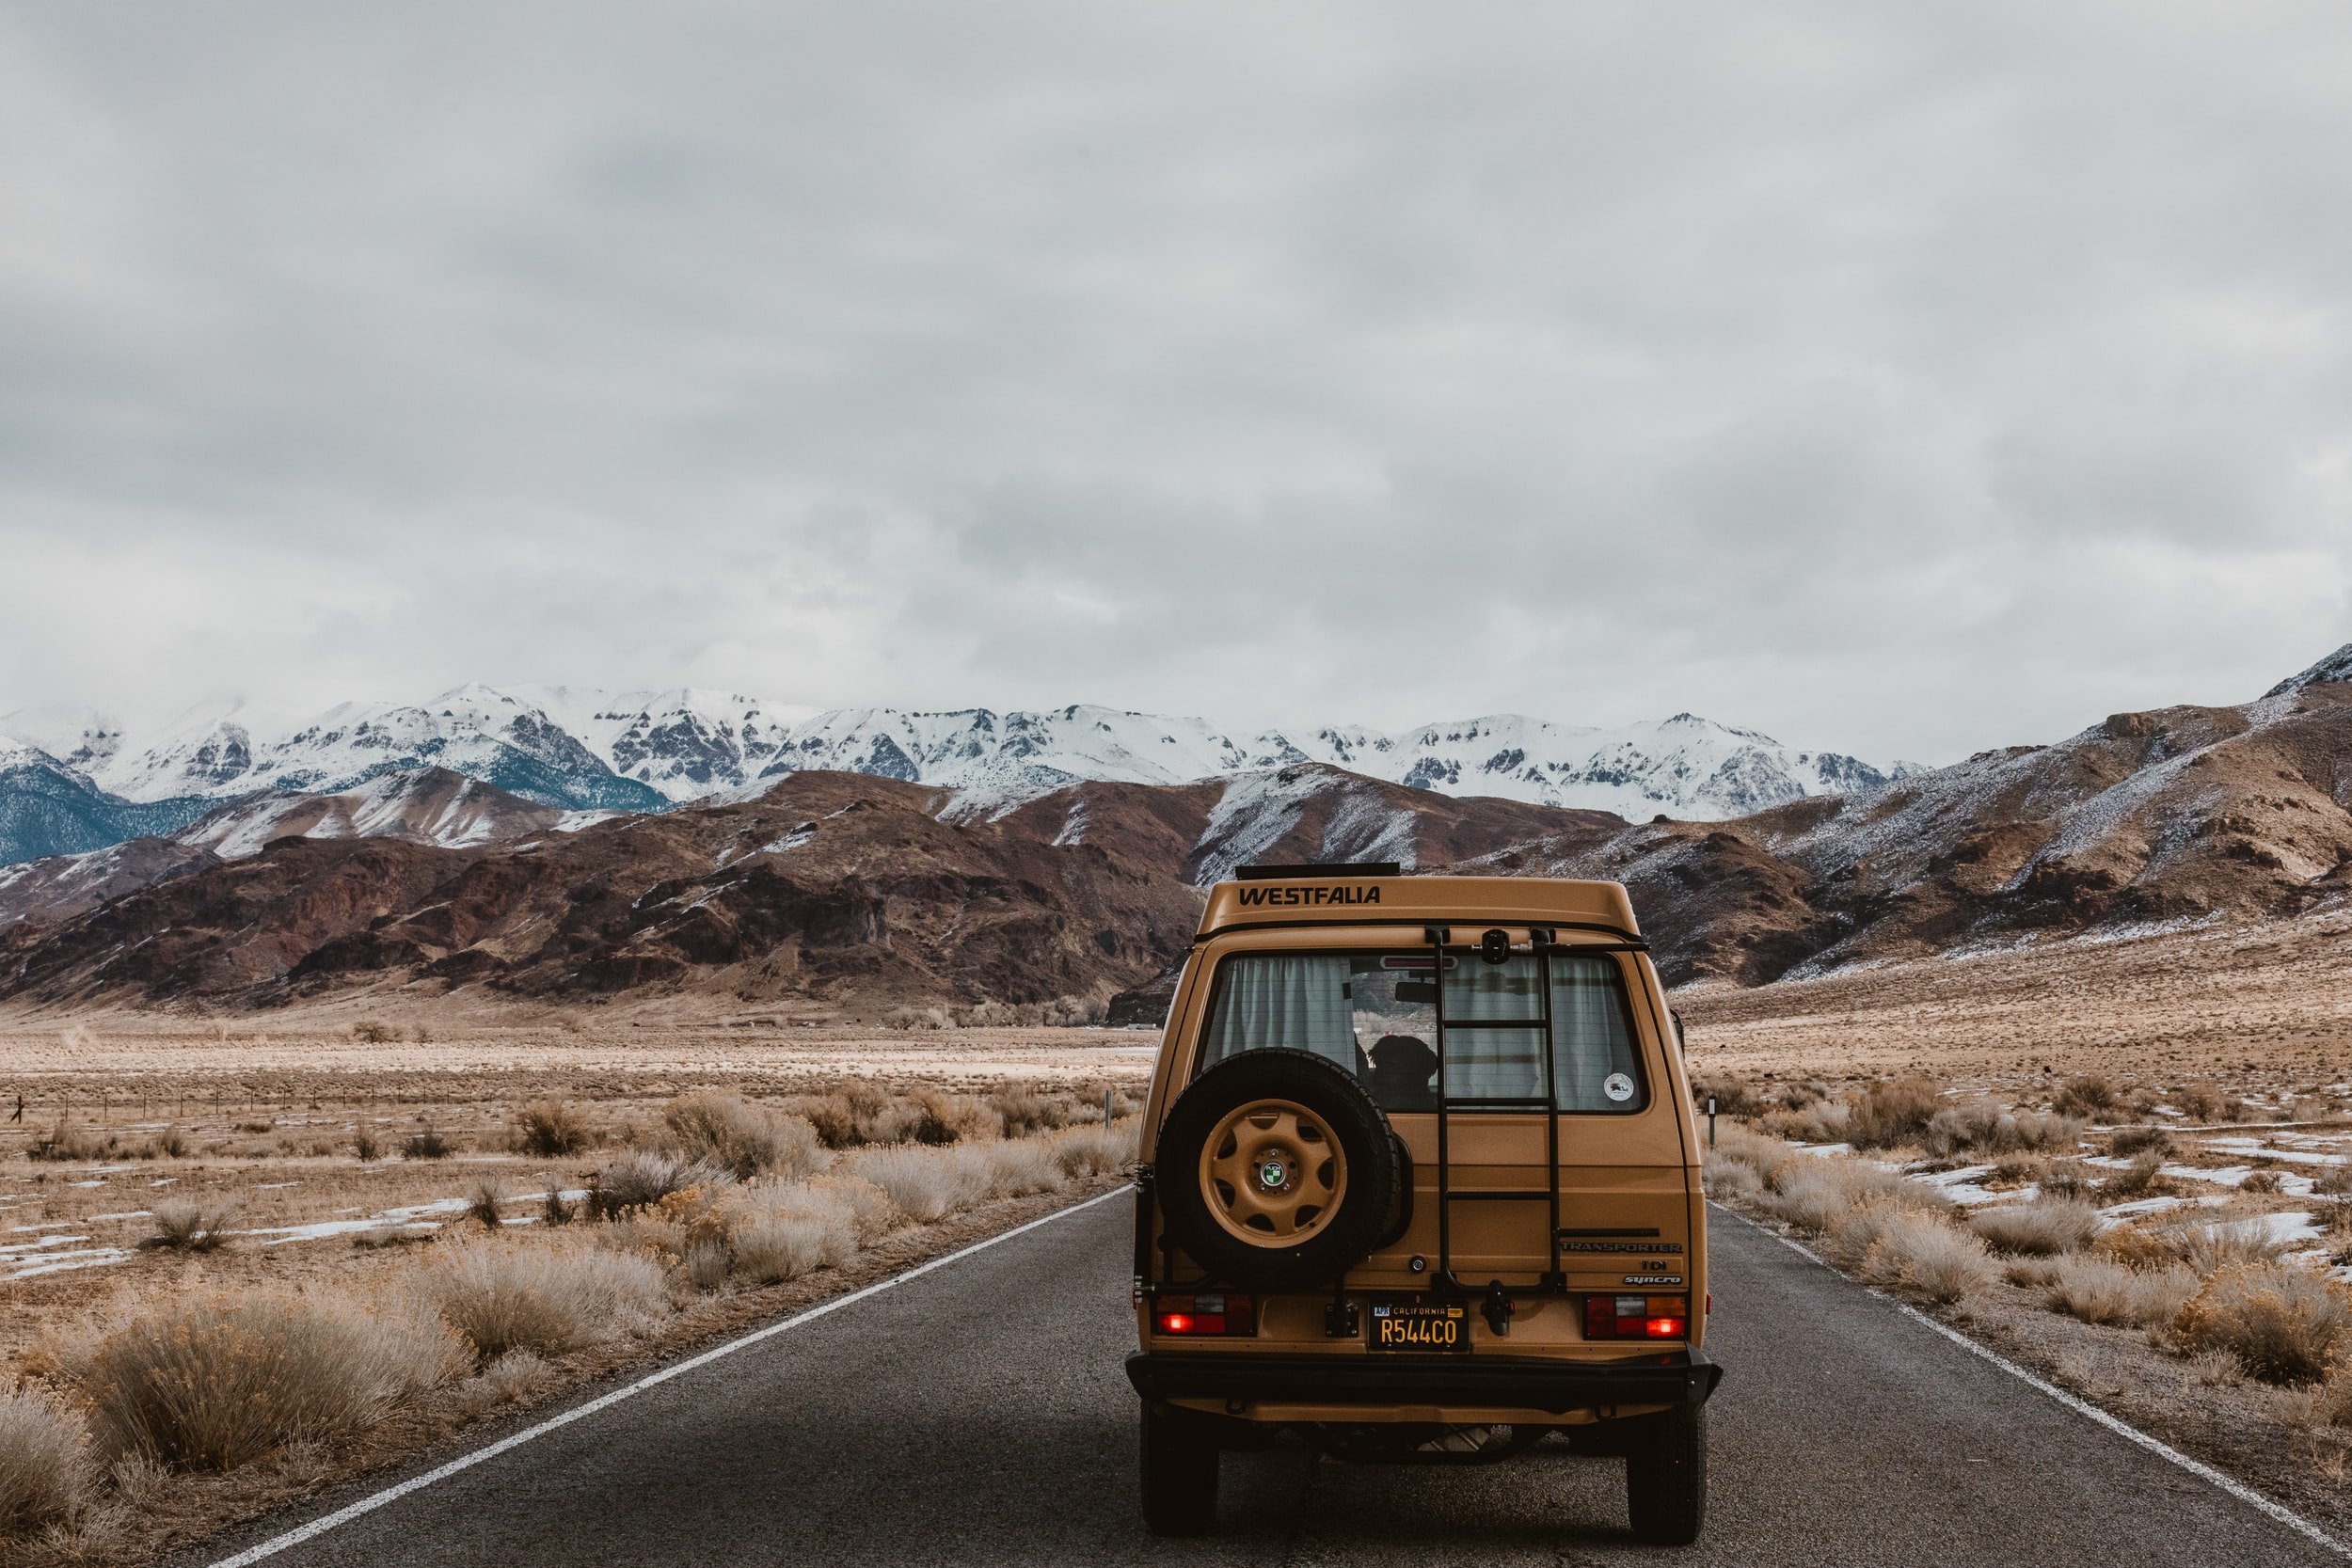
A road trip is never a bad idea – solo or with a group, it’s always a super fun way to travel. Planning one may seem a bit overwhelming and complicated, but with the right tools, you don’t have to feel all over the place. That’s why we’ll show you how to plan a road trip on Google Maps. Yes, the app isn’t just for navigation!
Why Learn How to Plan a Road Trip on Google Maps
We’re sure you’re kind of intrigued to know how to plan a road trip on Google Maps, but we bet you also want to learn this in the first place.
You see, by creating your own custom map, you’ll be able to not just highlight your best route, but also create a visual representation of your itinerary. This will, of course, help you so much with navigating the roads. And given that you’ll be using Google Maps, you can easily access your map from any device, and you can even share it with your other travel partners.
How to Plan a Road Trip on Google Maps Step by Step
#1 Open Google Maps on your desktop
Log into your Google account on your desktop and open Google Maps. You need to have a Google account to be able to create a map.
#2 Create a new map
You’ll find a hamburger menu at the top left corner – click on it. Select “your places”, then click on “maps” – this is where all your custom maps will be saved. Now, click on “create map”.
A new window with a new blank map will be opened. The map creation process is done via My Maps, a subsidiary service of Google Maps that allows you to use its infrastructure and attach information. There’s a separate My Maps app that you can download on your phone but you can also access your custom map without downloading it. We’ll show you how in the end.
#3 Assign a colour to each category
Now that you have a blank map, that you can add a title and description to, you can also drop pins for locations. But first, assign colours for different categories, such as hotels, restaurants, or gas stations, to help make your map understandable.
#4 Drop location pins
Start dropping pins of the locations you’ll be dropping by on your road trip. Hotels, attractions, restaurants, rest houses, gas stations, you name it. To drop a pin, simply search for the location in the search bar, then when you find it, click on “add to map”. If you can’t find it, you can search for the coordinates instead.
Each pin can be customised – you can change its title, add a description, change its colour, and even change its icon. For instance, you can choose the bed icon for all your hotels to be able to easily spot them by just looking at the map. The colour coding, along with the icons, will make navigation super easy.
#5 Add layers to your map
Think of layers as groups or folders that you can add pins to. Each layer can hold up to 10 pins only, and each map holds up to 10 layers. When the map is created, you automatically get an “untitled layer” but for new ones, you can click on the “add layer” button.
You can either create layers to reflect the days of the trip or the type of location. For example, if you go for days, your layers would be titled something like “day 1, day 2, day 3, etc.” and within each layer, you’d add the locations you’ll be visiting on these days. On the other hand, if you opt for the other layering system, their titles would be “restaurants, hotels, tourist attractions, etc.” and within each layer, you’d add the locations that fall under the named category. It’s worth mentioning that you can drag and drop pins from one layer to another.
#6 Add directions and highlight your route
To highlight the route that makes the most sense to you, you need to connect the stops, and that’s done by adding directions. To do so, click on the “add directions” button which has an arrow icon. This will add a new layer, dedicated to directions, that has point A and point B. Click on the first stop in your route and it will be reflected as point A, then click on the next stop and it’ll be reflected as point B.
To add more stops, simply click on “add destinations” – you can add up to 10 as well. Your route will be displayed as a blue line. It’s also noteworthy that if you click on the blue car icon in the layer, you can switch the mode of transportation from driving to walking or cycling. If you click on the three dots next to the directions layer, you can choose to view the step-by-step directions.
How to access your map from your smartphone?

Now that you’ve learned how to plan a road trip on Google Maps and created your own digital route, you need to have access from your phone for navigation. Here are two ways to access your custom map:
Via My Maps
Remember the “My Maps” service that we previously mentioned? It has a standalone app that you can download on your phone. However, it’s not for navigation, but rather a mobile version of the interface you worked with on your computer.
Via Google Maps
Log in to your Google account, open the Google Drive app on your phone, and enter the word “map” in the search bar. All your custom maps will appear and you should be able to view them in the Google Maps app.
How to share your map with other travellers?
Are you travelling with your friends or family? Do you want to share your custom map with your navigator or co-pilot? Piece of cake!
All you have to do is open your map, and click on the share button above the layers section. A link will be generated and you can send it to your friends. Just make sure that sharing is enabled – there’s a slider for it.
Now that you learned how to plan a road trip on Google Maps, it’s time to test your knowledge! If you have a road trip coming up, try out our planning trick and let us know how it goes. And if you need help planning a trip on your own, make sure to check out our other post on planning an itinerary from scratch.